If you are a WordPress website owner, then you must work with different files on your website. You may have faced a problem while uploading a large file. So you want to Increase WordPress File Upload Size Limit
In this article, I’ll show you different ways of increasing the limit of file upload size in WordPress.
To see the allowed file size limit in Media->Add New.
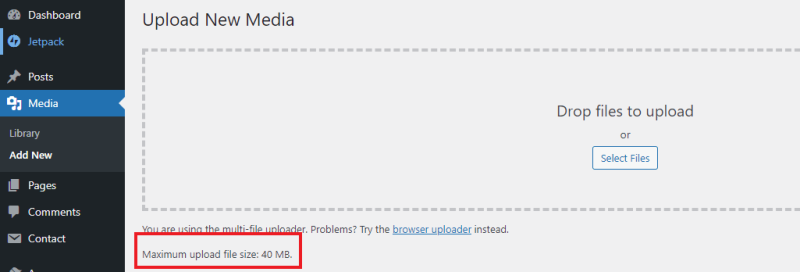
In the above image, it’s set to 40MB. It means you can’t upload files greater than 40MB. If you try to upload a bigger file, you’ll get an error something like shown in the image below.

Increase WordPress File Upload Size Limit
In this article, I will discuss four different approaches to change file size limits in WordPress. I suggest you try all options one by one and see which works fine for you. It is recommended to revert all changes immediately if any approach doesn’t work for you.
In this tutorial, I will set the file size limit to 64MB. You can set this value according to your requirement.
- Using htaccess
Let’s start with the .htaccess file. This file is present in the root folder in WordPress installation.
Add the code given below after # END WordPress in your .htaccess file.
# END WordPress
 php_value upload_max_filesize 64M
php_value post_max_size 72MThere is always a higher value for post_max_size than upload_max_filesize. It is because we post the file to the server additional data can be sent at the same time.
Now, go to the Media->Add New page and refresh it. Now you’ll see that the size limit is 64MB. If this method doesn’t work for you, then revert the changes immediately and try the next approach.
- By Code
In this approach, you need to add the following code to your active theme’s function.php file.
 @ini_set( 'upload_max_size' '64M' );
@ini_set('post_max_size', '72M');Users can also place this code in wp-config.php file.
 @ini_set( 'upload_max_size' '64M' );
 @ini_set( 'post_max_size', '72M');
/* That's all, stop editing! Happy blogging. */Check your Media page, if your limit is not increased then revert changes.
- Using PHP.INI file
If the above options don’t work, then try this one. In this case, you need to update a few lines in your php.ini file. Find the strings upload_max_filesize, post_max_size and set values 64M, 72M respectively.
If you can’t access the php.ini file, then you need to create a new one in your root folder. You need to add below lines of code to it.
 upload_max_filesize = 64M
post max size = 72M- Using Web Hosting Tool
If all the above approaches failed, then the final option here is a web hosting tool.
If you are not comfortable with the next step, then please contact the hosting support team. They will do it for you.
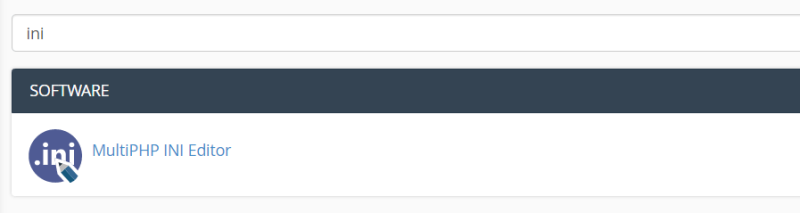
Log in to your web hosting account and type ‘ini’ in the search field. Now you’ll get the ‘MultiPHP INI Editor’. Click on it.
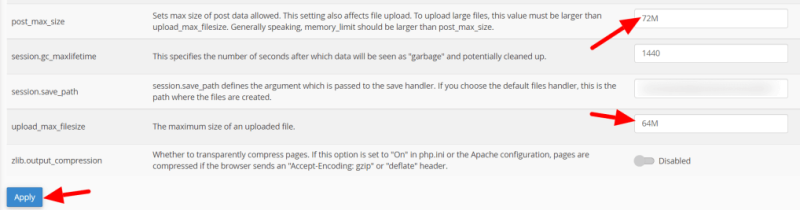
Now, you’ll find a provision to set values for for post_max_size and upload_max_filesize. Now add the values 72M and 64M respectively. Now click on the apply button.
Now check your media page. You should be now able to upload a file upto 64MB in size.
I hope you have understood how to increase file upload size limit in WordPress.