Are you using Elementor forms and want every submission to be automatically saved in Google Sheets?
With the FormsDB For Elementor Forms, all your form submissions are automatically saved to Google Sheets or Posts in real time.
What is FormsDB For Elementor Forms?
FormsDB For Elementor Forms acts as a bridge between Elementor Forms and Google Sheets. Once your Elementor form is connected with Google Sheets, every new form submission is instantly added as a new row, keeping your data organized, accessible, and always up to date.
Before securely connecting your Elementor forms with Google Sheets, you’ll need to generate a Google API authentication token using the Google Cloud Console. This token allows FormsDB for Elementor to send form data to your Google Sheets safely and automatically.
How to Generate a Google API Authentication Token
Follow the steps below to generate a Google API authentication token:
- First, make sure that you have installed and activated Elementor / Hello Plus and FormsDB For Elementor Forms.
- Next, open the Google Cloud Console in Chrome browser.
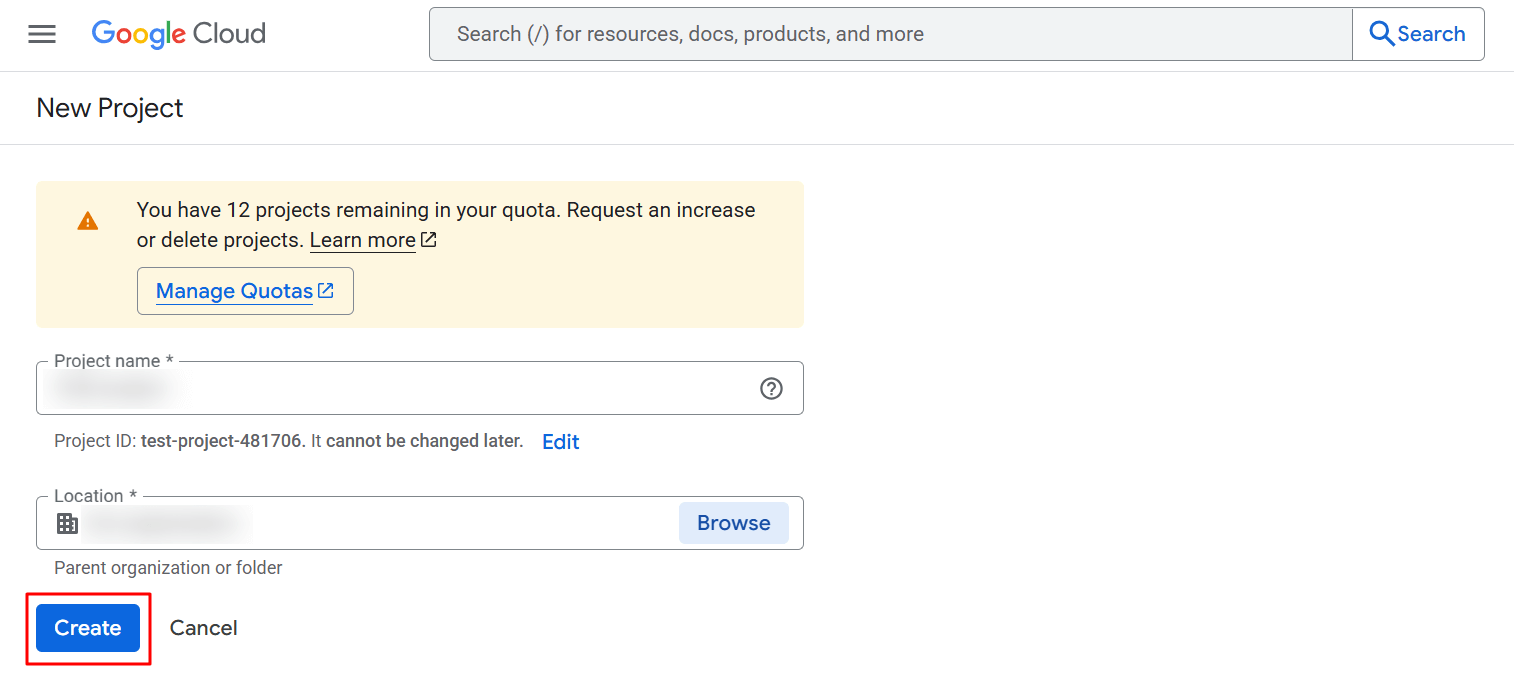
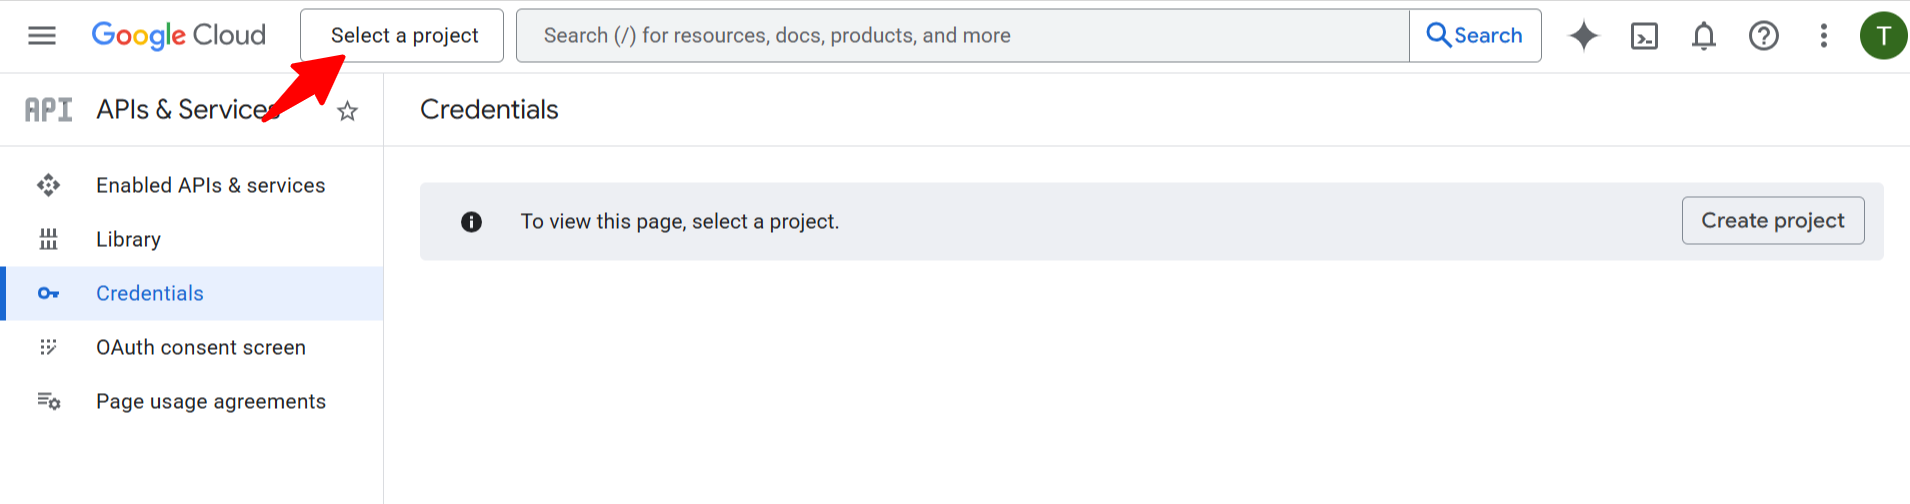
- Click Select Project at the top and then click New Project.
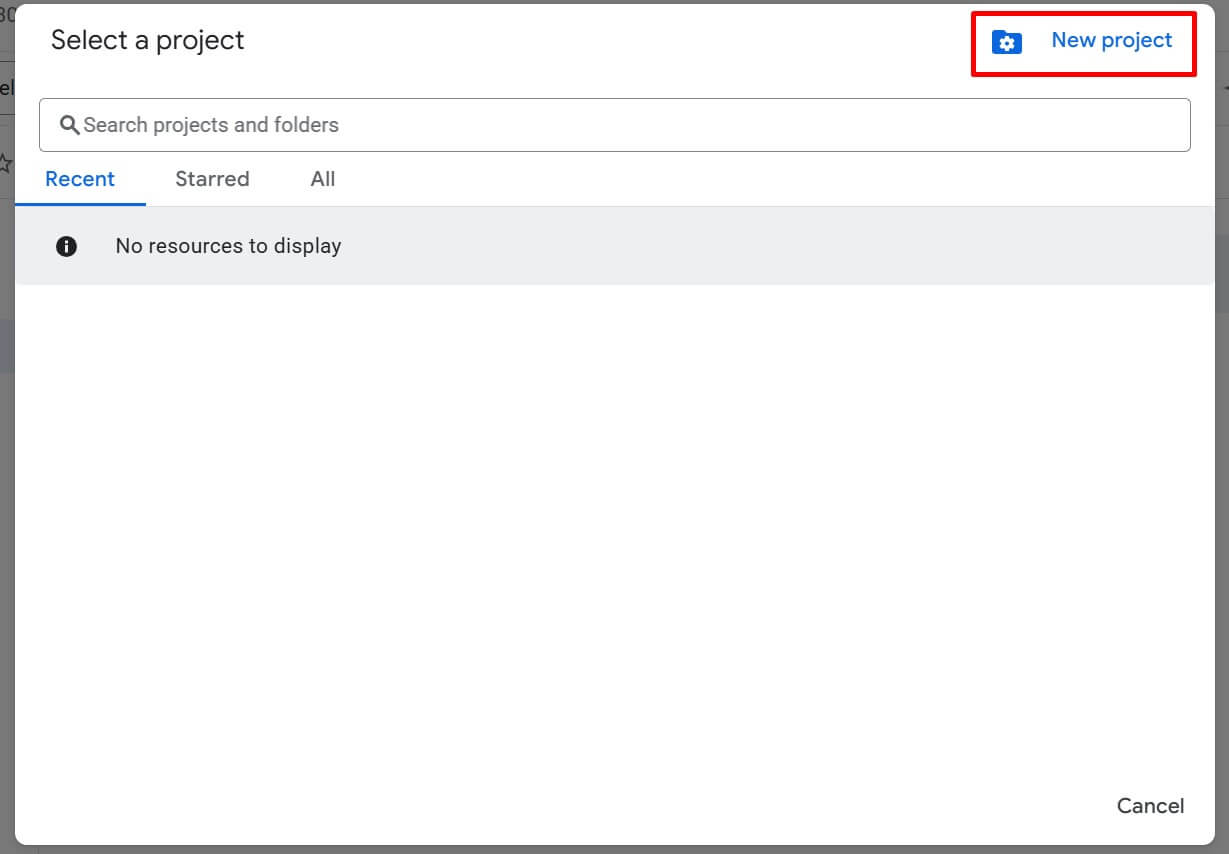
- Enter a project name, choose a location, and click Create.
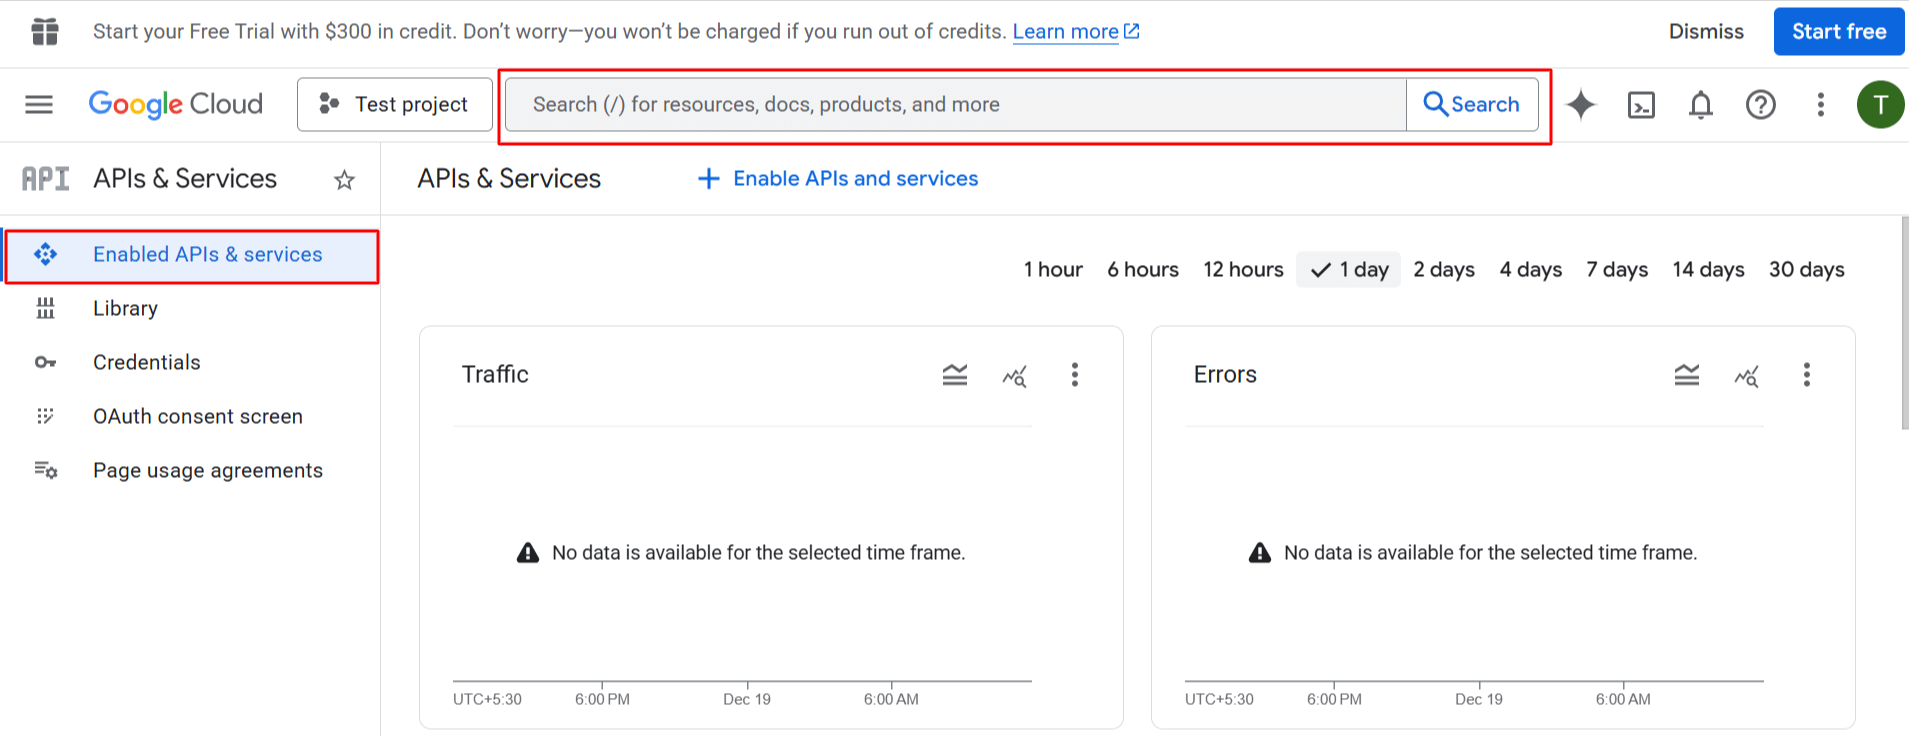
- Once the project is created, select it from the Select Project dropdown.
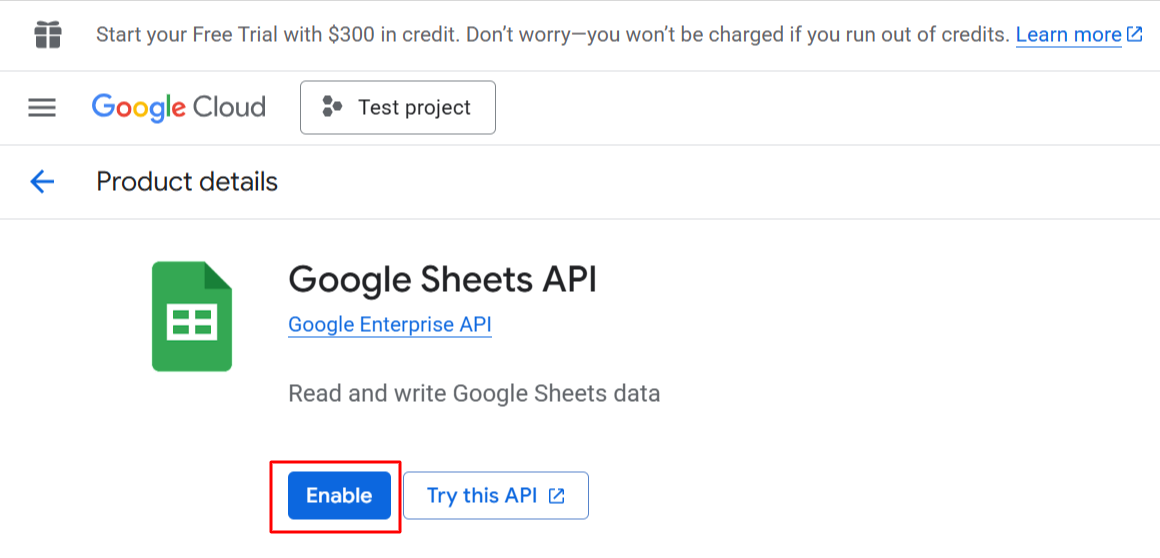
- Next, navigate to the Enabled APIs & services section.
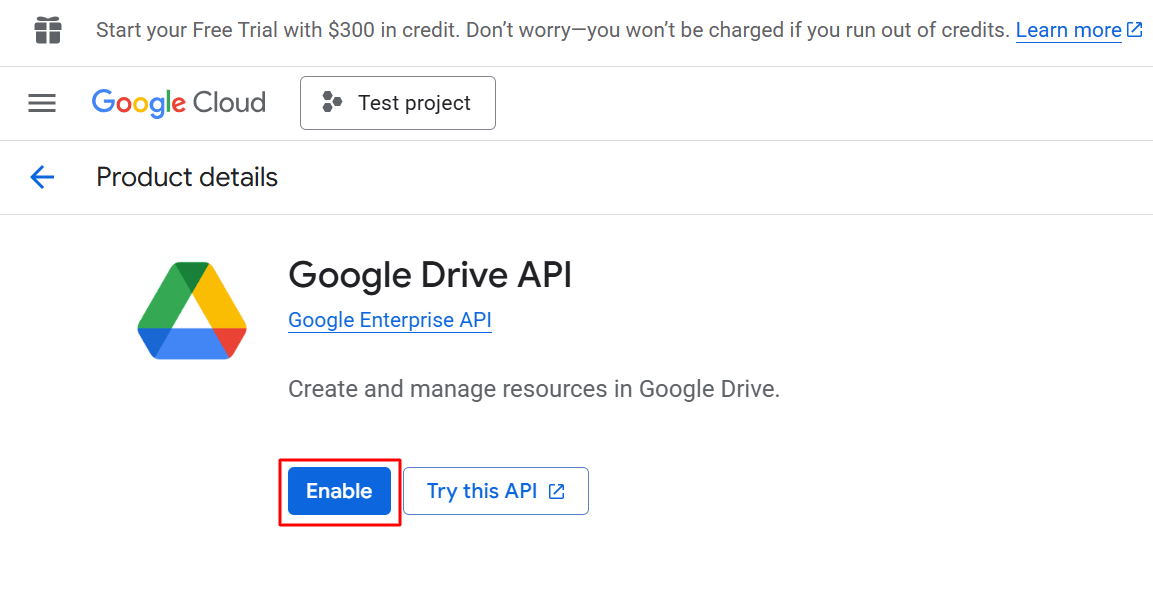
- Here, search and enable the Google Drive API and Google Sheets API.
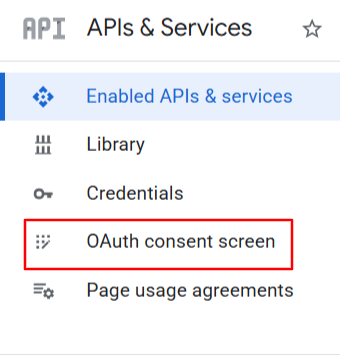
- After enabling the APIs, go OAuth consent screen.
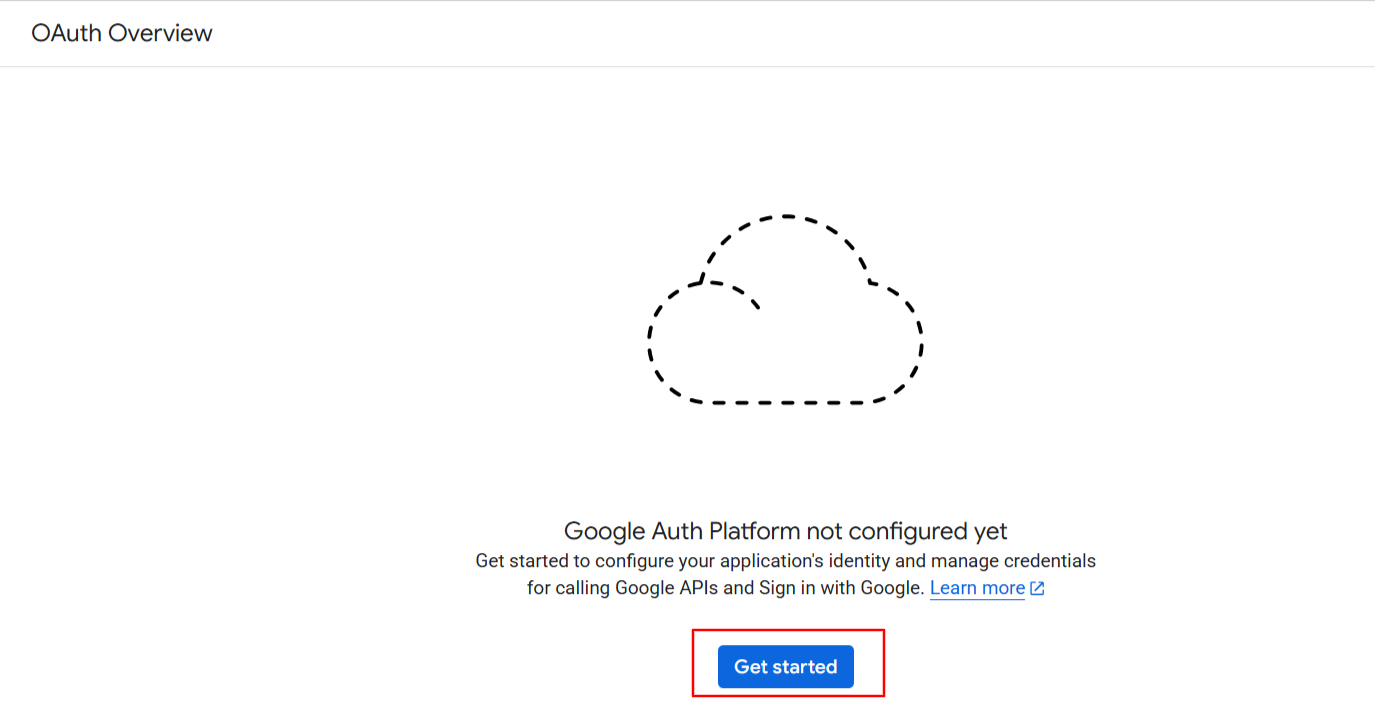
- Click the Get Started button.
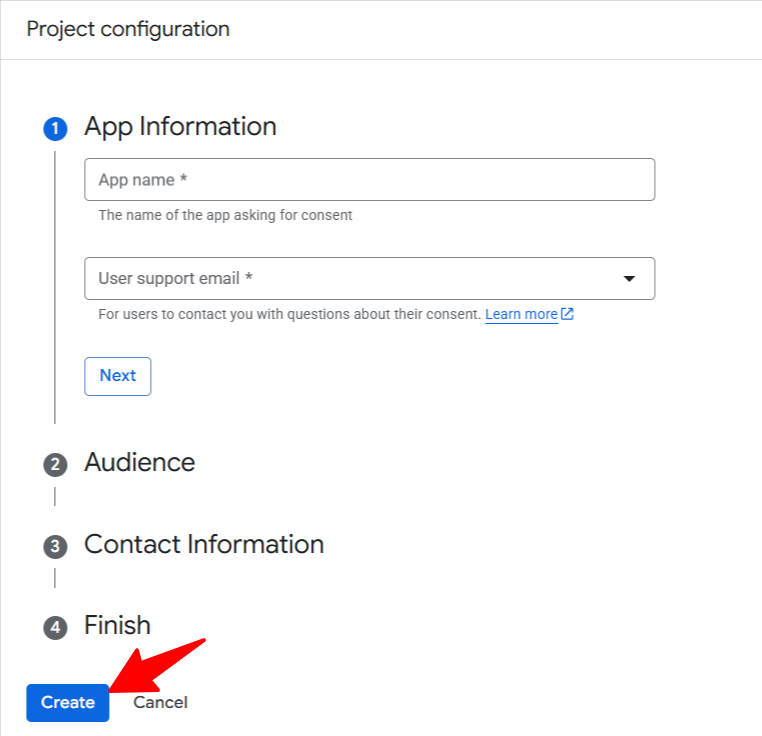
- Under App information, enter your app name and user support email, then click Next.
- In the Audience section, select External and click Next.
- Under Contact information, enter your email address and click Next.
- Accept the data policy and click Continue to complete the OAuth consent setup.
- Click Create OAuth Client ID.

- Select Web Application as the application type and enter a name for the client.
- Click Add Authorized Redirect URI.
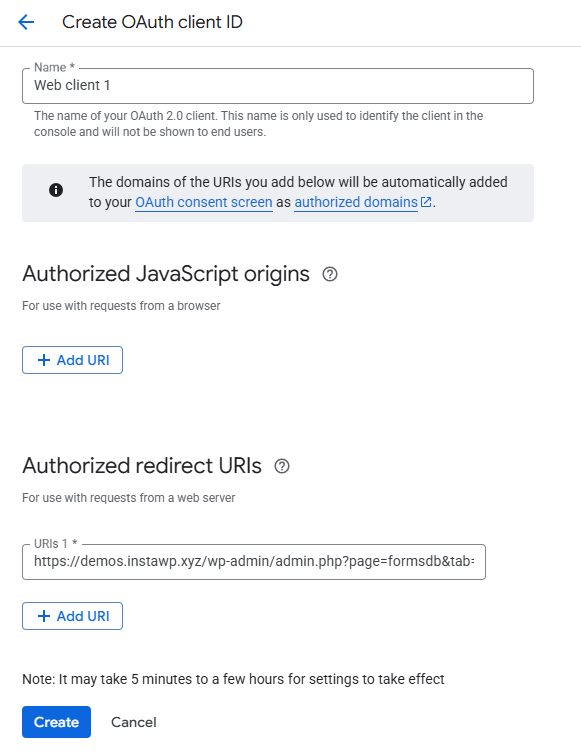
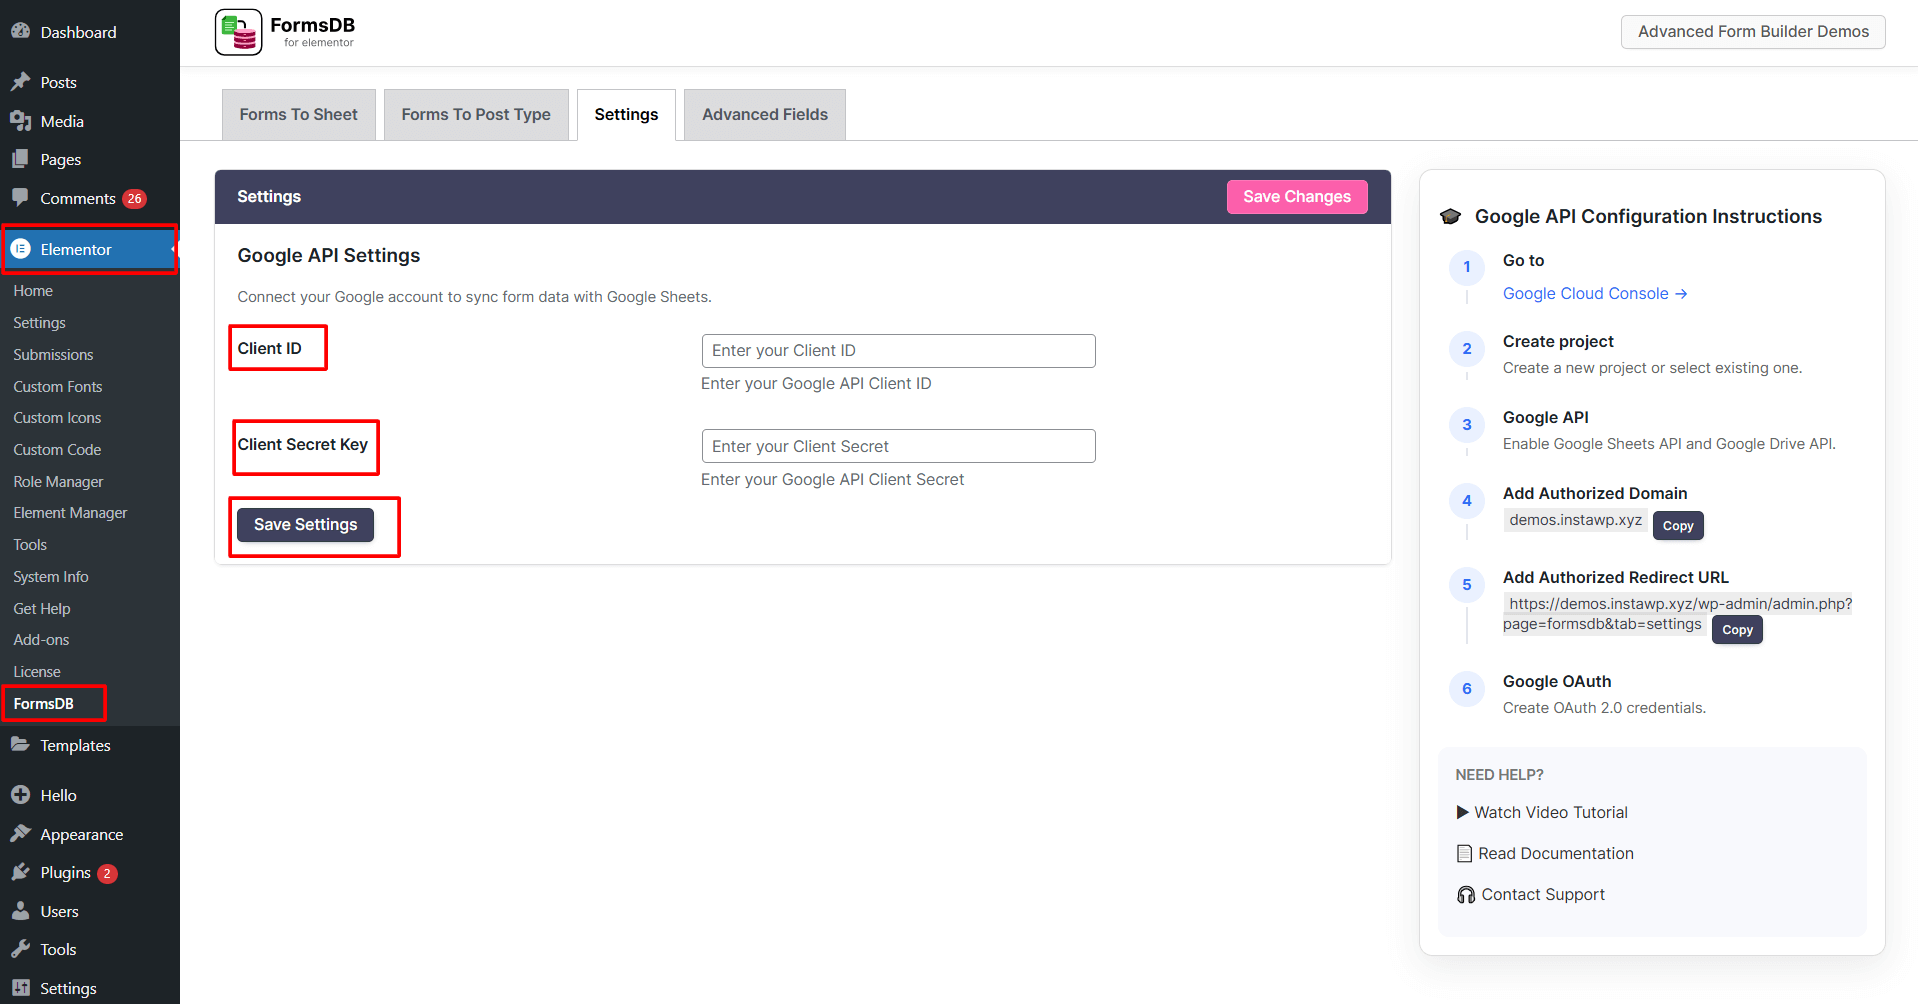
- From your WordPress dashboard, you can access this redirect URI by navigating to Elementor > FormsDB > Settings.
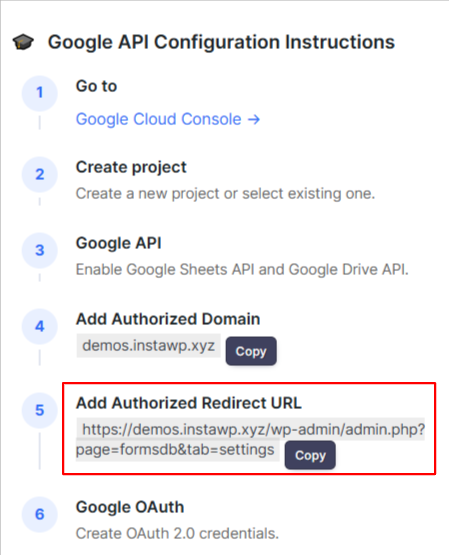
- Copy the redirect URI, and paste it into the Authorized Redirect URIs field in Google Cloud.
- Click Create to generate the OAuth credentials.
- Copy the Client ID and Client Secret.
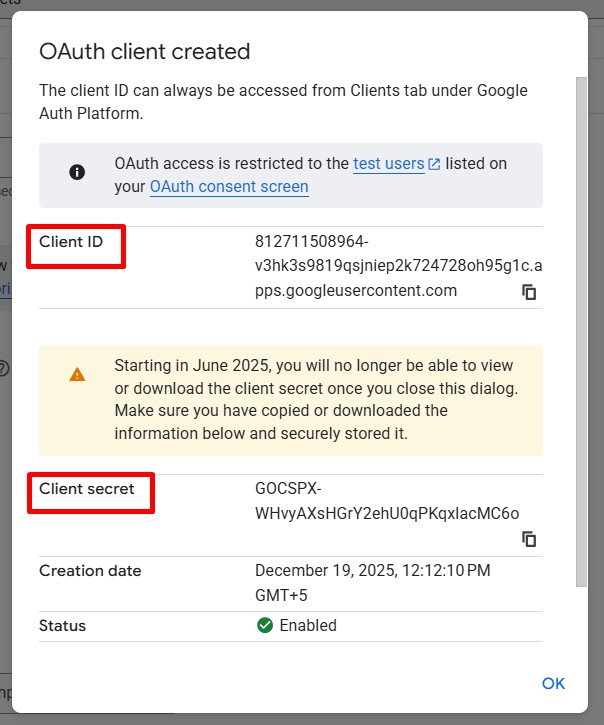
- Paste the Client ID and Client Secret into the FormsDB settings.
(From your WordPress dashboard, Elementor > FormsDB > Settings)
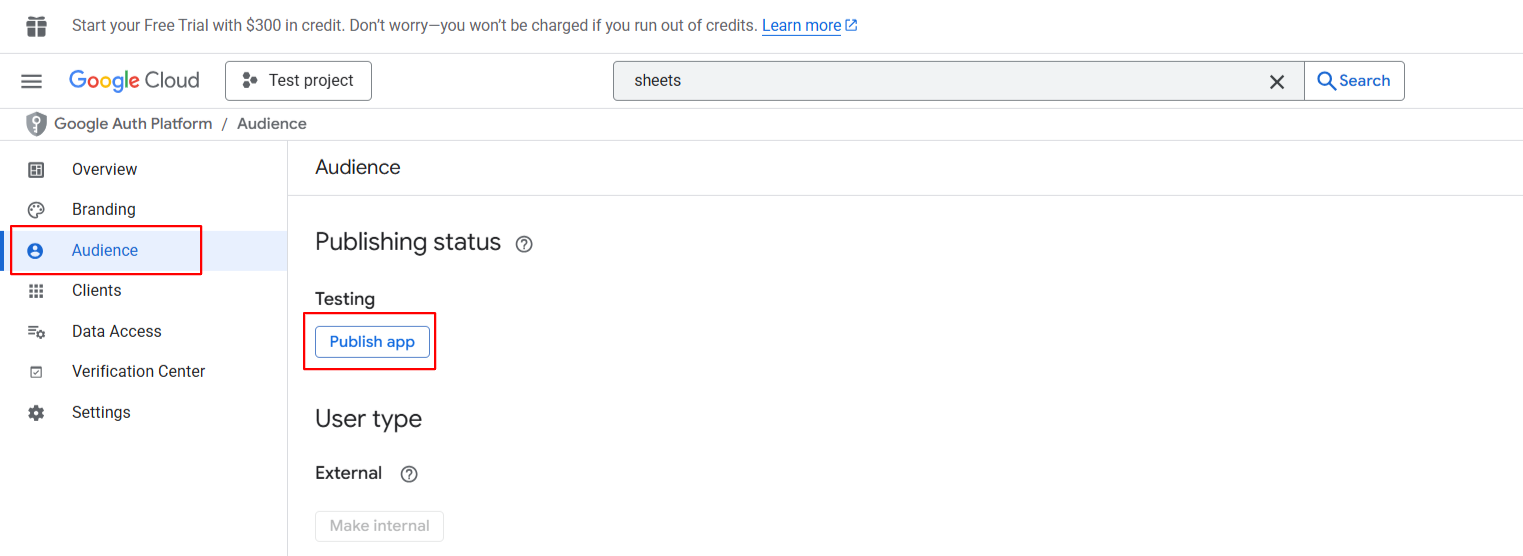
- Now, from the Google Cloud Console, go to the Audience section and click Publish App.
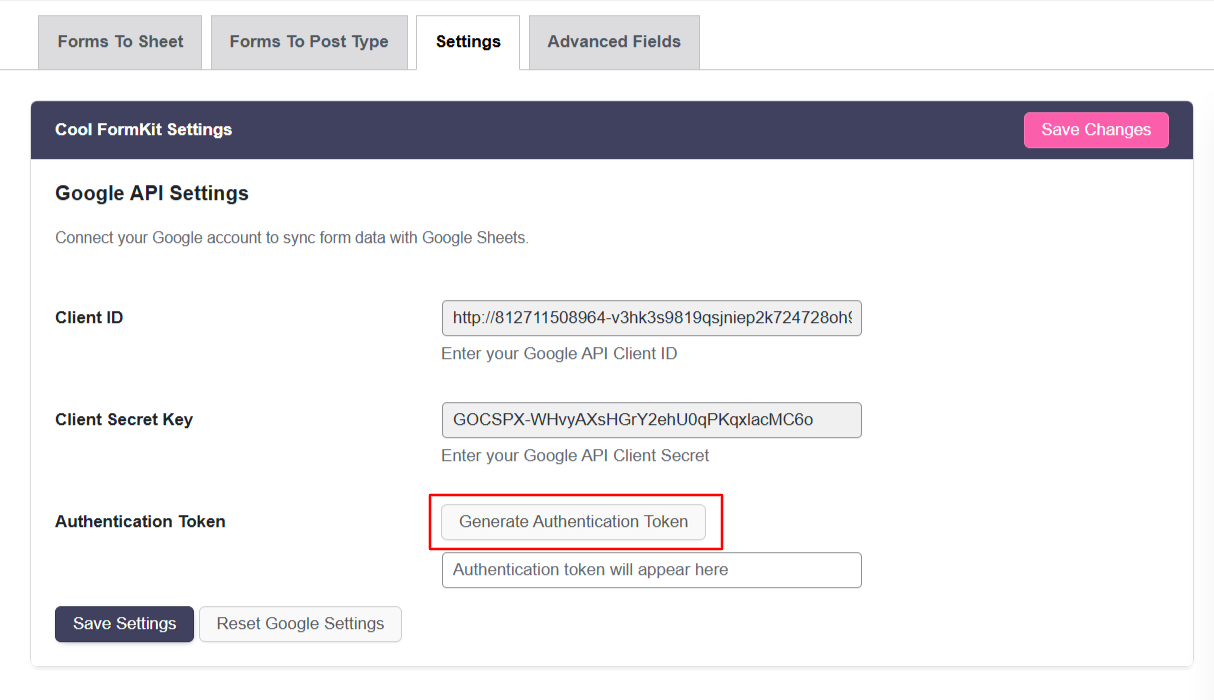
- Return to FormsDB settings in Elementor and open the Settings tab.
- Click Generate Authentication Token.
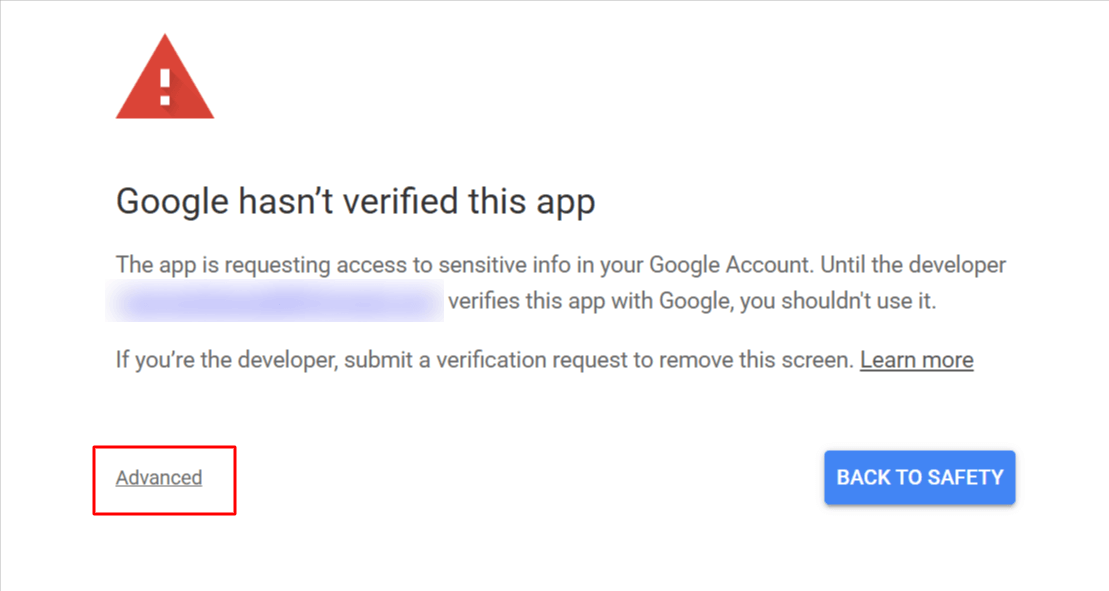
- Log in with your Google account. If a security warning appears, click Advanced, then choose Go to (unsafe) to proceed.
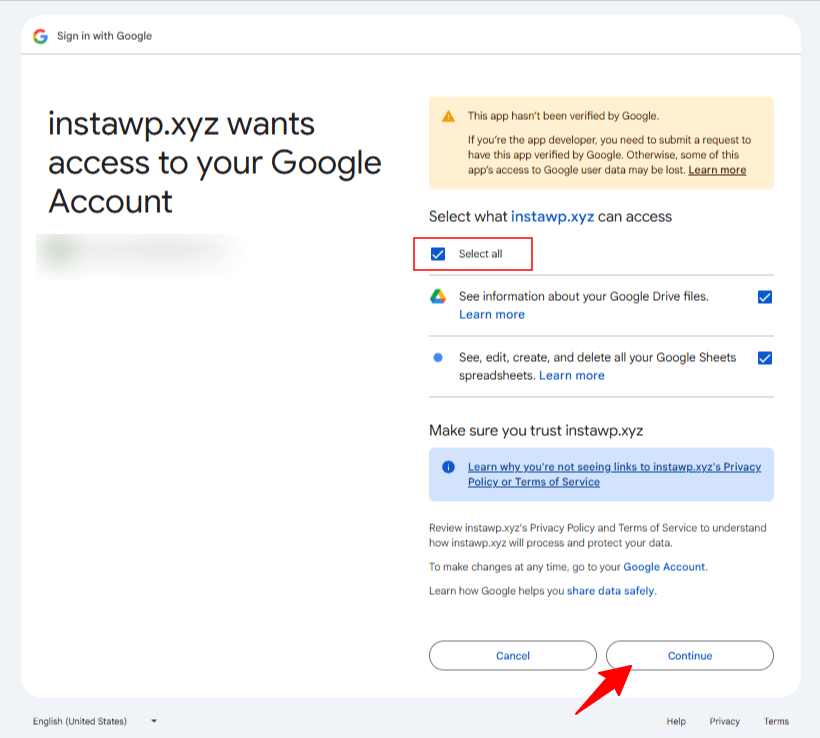
- Allow the requested permissions and click Continue.
- The Google API authentication token will be generated, and your Google Sheets account will be successfully connected.
Now, your Elementor form data will be automatically saved to Google Sheets.
How to Save Elementor Form Submissions to Google Sheets
Follow the steps below to configure your Elementor form to automatically send data to Google Sheets:
- Edit your Form with Elementor.
- Navigate to the Action after submit section below the Form Fields.
- From the dropdown list, select Save Submissions in Google Sheet.
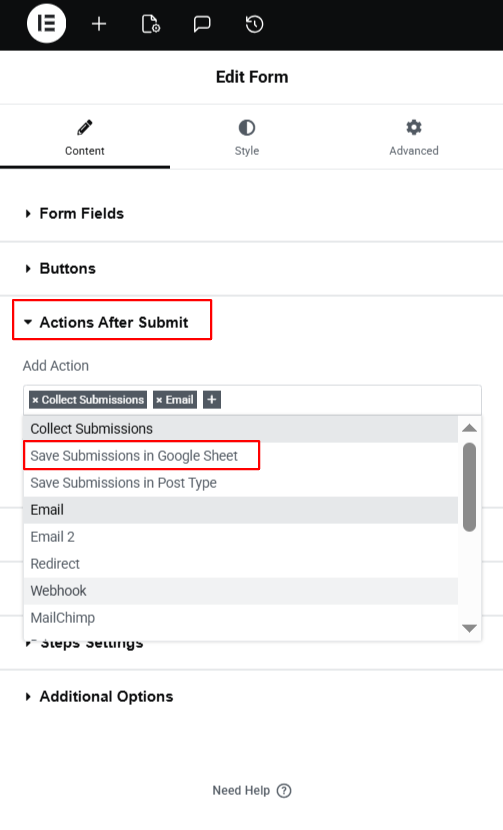
- A new panel called Save submissions in Google Sheet will appear.
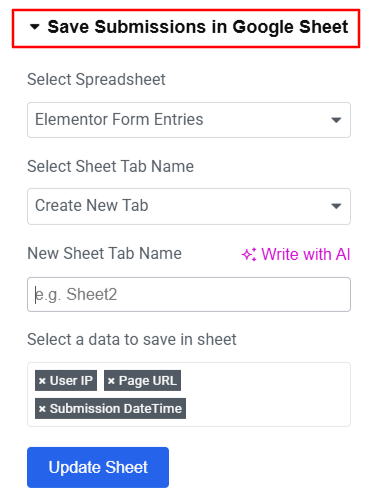
- Select the Google Spreadsheet where you want to store the form entries.
- Enter the Sheet Tab Name.
- Next, select the form data you want to save in the sheet.
- Click Update Sheet to apply the settings.
- After satisfied, publish your page.
Now, every time the form is submitted, the data will be automatically saved to Google Sheets.
How to Save Elementor Form Submissions to Posts Type
- Navigate to the Action after submit section below the Form Fields.
- From the dropdown list, select Save Submissions in Post Type.
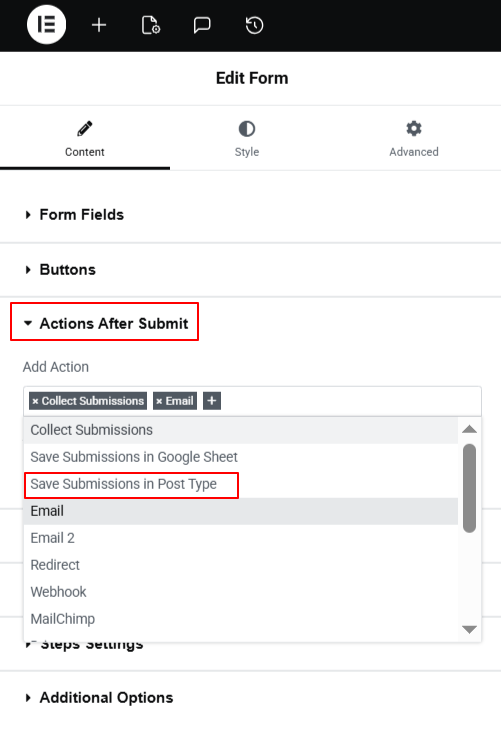
- A new panel called Save submissions in Post Type will appear.
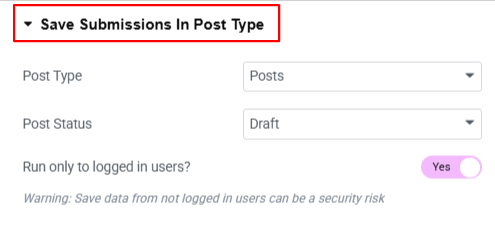
- Post Type: Choose where the form data will be stored in WordPress: Posts, Pages, Media, Floating Elements or My Templates.
- Post Status: Choose the visibility status of your selected post type.
- Enable Run only to logged in users option, if you want only logged-in users to submit the form and save submissions as posts.
- After satisfied, publish your page.
Now, every time the form is submitted, the data will be automatically saved to WordPress Posts Type.